Step 1: Navigate to the Official Lost Ark Website
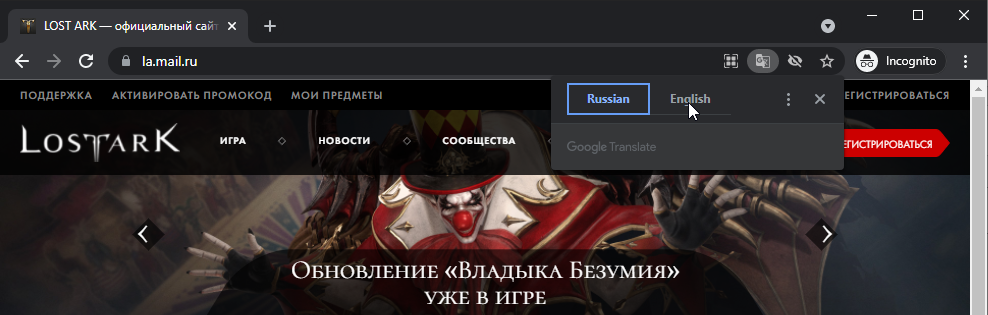
Navigate to the official Russian Lost Ark website. Use the browser of your choice, but Google Chrome will allow you to easily translate it in the language of your choice. This might not work for all pop-ups that are going to follow which is why I’ve attached screenshots and clear instructions in order to facilitate this process.
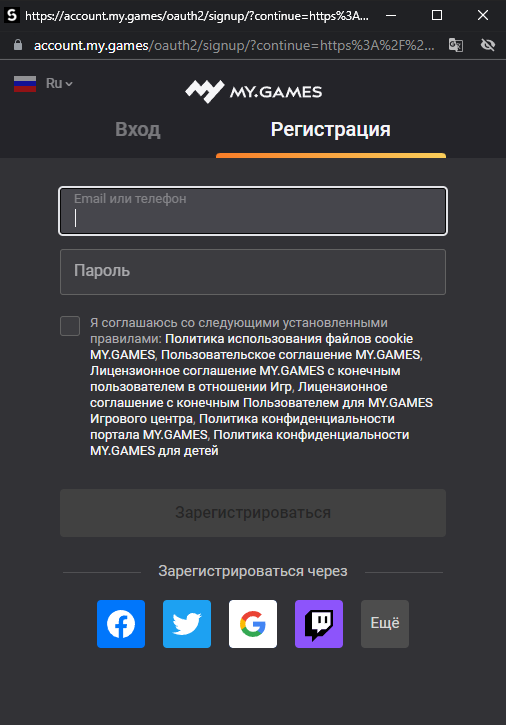
Step 2: Register a Mail.Ru Account
Next, click on the “Register Now” red button at the top right of the page.

After clicking the button you should see a new window asking for your information to Register. Simply enter your preferred email in the top input and the password of your choice in the second input. Check the checkbox to agree with the following rules.
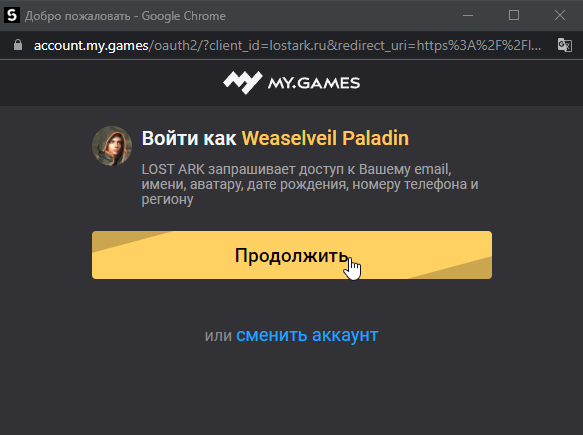
You’ll then see another screen after successfully registering simply asking you to click “Proceed.” Click it to confirm your registration.
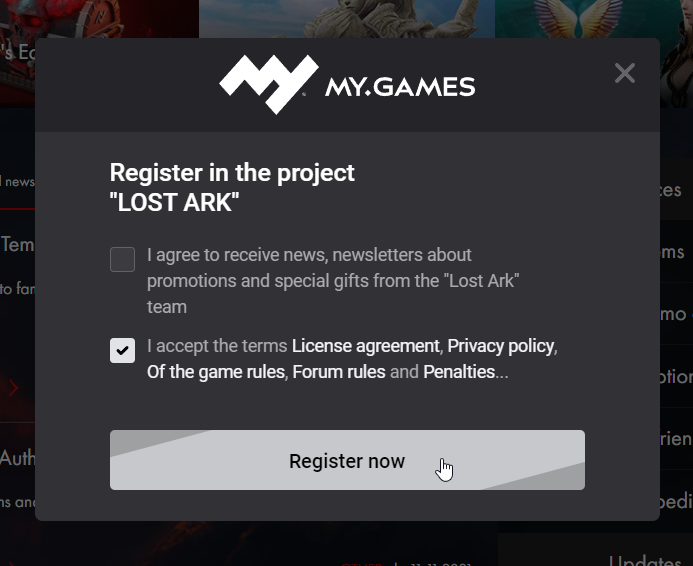
Step 3: Register Lost Ark
After registering you’re going to be presented with another new window. This time, it will be prompting you to register for Lost Ark. Simply check “Accept terms …” and submit the registration form by clicking “Register Now.”
Step 4: Download the MY.GAMES GameCenter
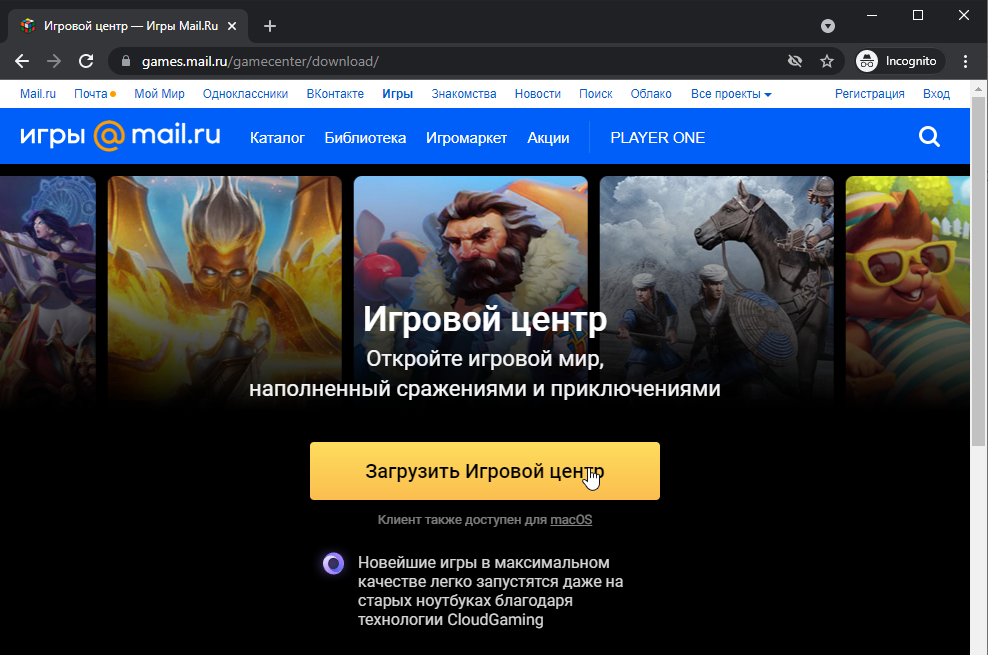
To play Lost Ark you need to download MY.GAMES GameCenter. This is the platform you need to use to order to access the game, similar to Steam or Epic Games Store. Simply navigate over to the GameCenter website and download it by clicking on the yellow button.
Step 5: Install a VPN
Before we go any further, you’re going to need to install a VPN. You’re unable to log in and play the Russian version of Lost Ark without using one. Not all VPN will allow you to achieve this and I personally recommend ExitLag since I know it does work flawlessly. Not only will it give you the lowest ping but it will also only route the game and nothing else. Here’s a link to a free 3-day trial for ExitLag.
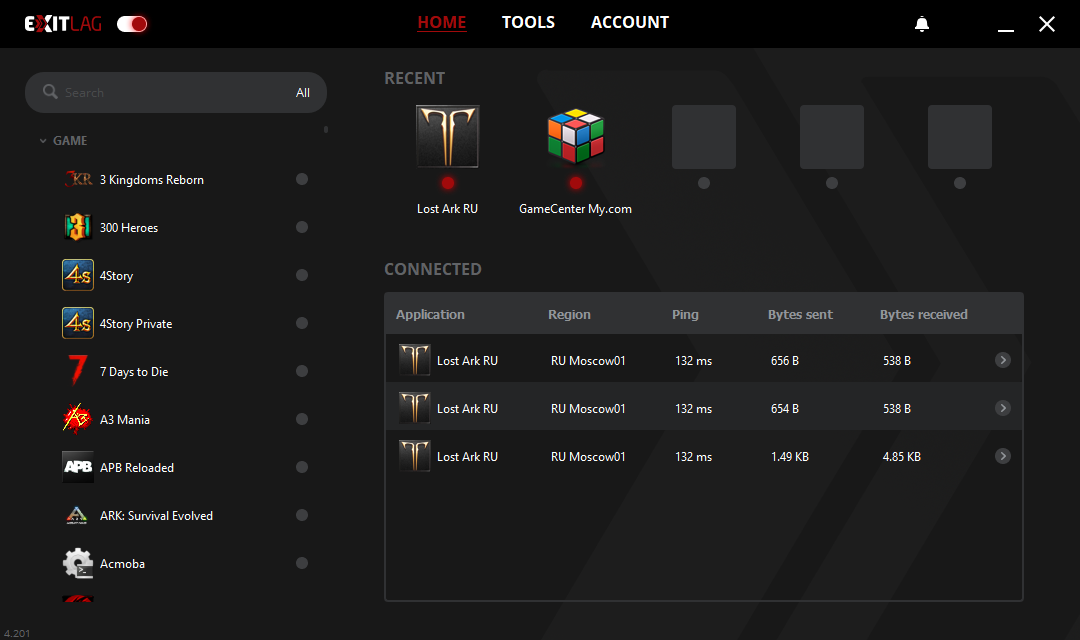
After downloading and installing ExitLag you’ll want to load Lost Ark, but also the GameCenter. Simply search in the Search Bar for Lost Ark RU and GameCenter and hit “Apply Route” for both of them selecting any of the available Moscow servers. Logging into the GameCenter with a non-Russian IP will result in Lost Ark not appearing as a playable title.
If you’ve done everything correctly your ExitLag should look like this:
Step 6: Download and Install Lost Ark
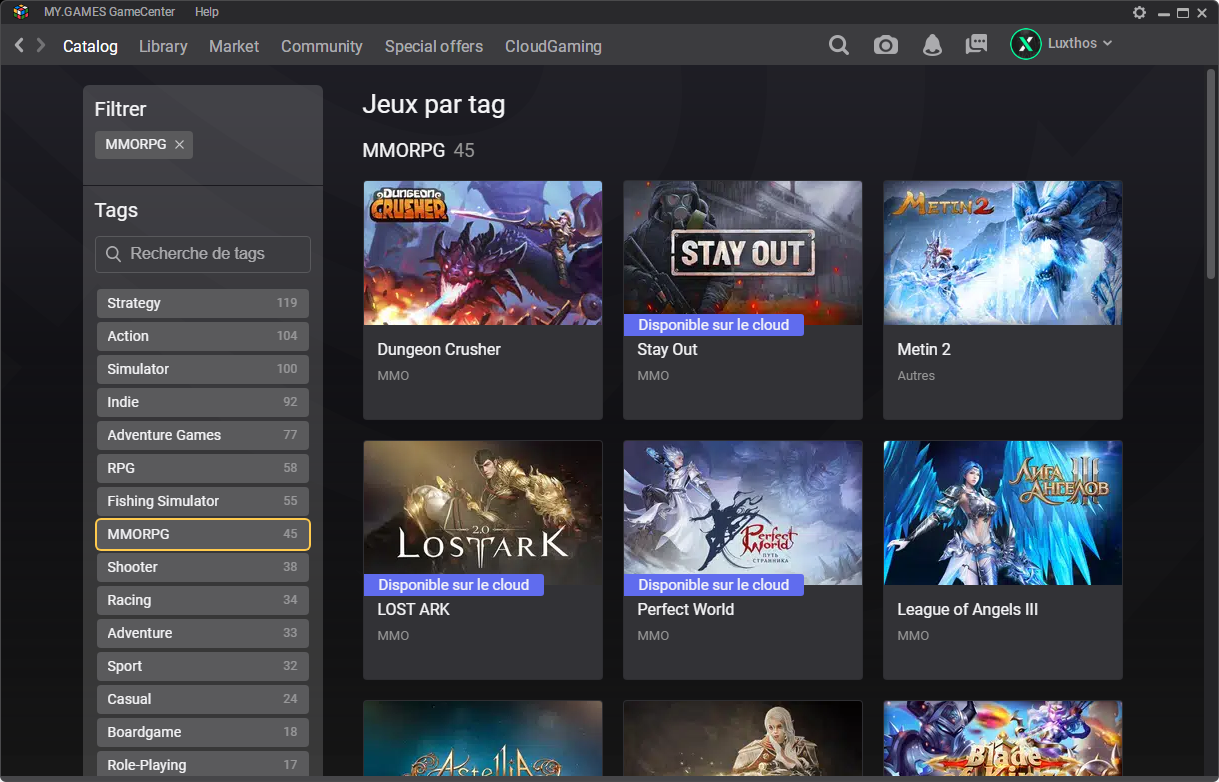
You’ll want to navigate over to the “Catalog” and scroll down a little to see Lost Ark. If you can’t find it simply select the MMORPG tag. Click on Lost Ark and then click on the big yellow button that says “Download” on the following page. Remember: You’re required to keep your VPN open during this entire process.
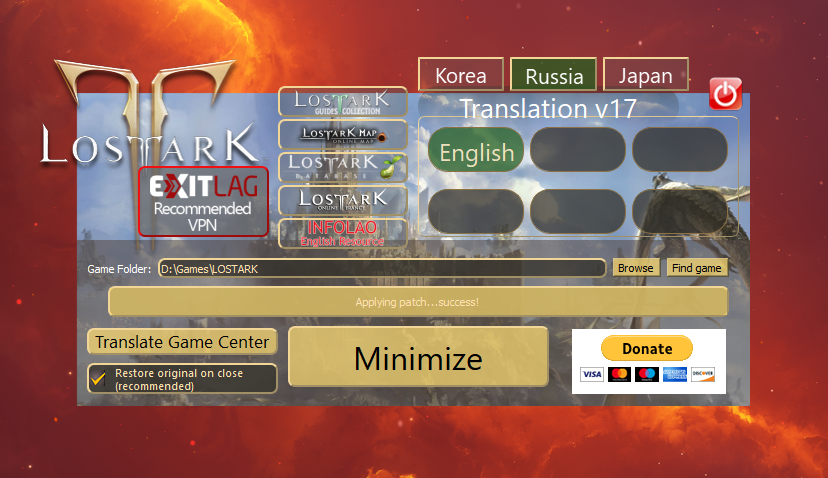
Step 7: Apply the English Translation Patch
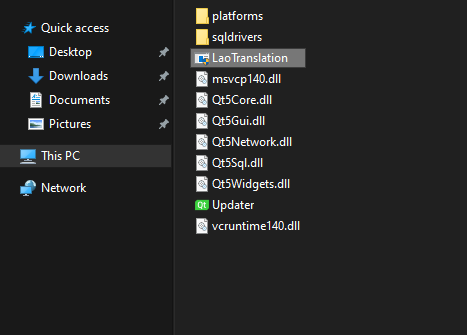
On to the last step, you’re going to download the English fan-made translation and extract it.
After extracting the files, you’re going to want to click the “LaoTranslation” file.
This will open an executable software prompting you to possibly download an update and then select the language you’d like the game to be patched into. Make sure the proper path to Lost Ark is selected and choose the language of your choice, and allow for the patcher to translate your game.
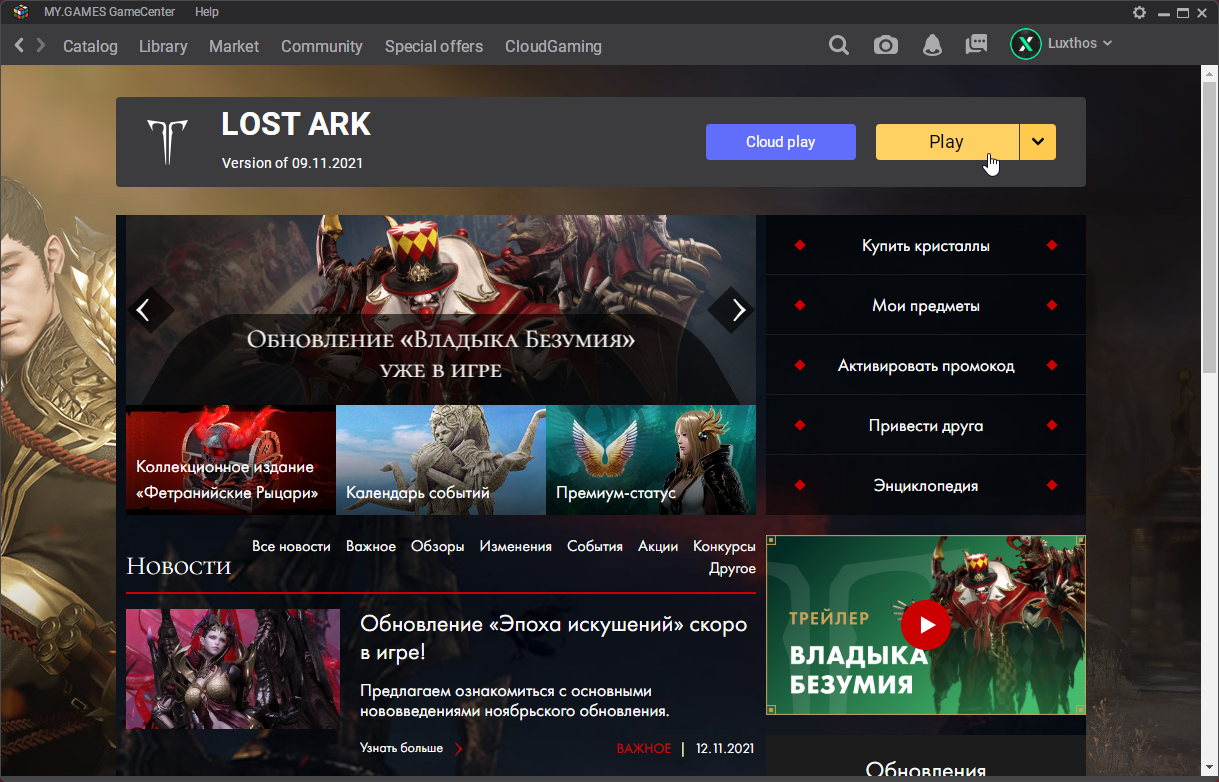
That’s it, you can now go back to MY.GAMES Game Center and click the “Play” button to launch the game.
And that’s it, you can now play the game in English! If the game ever launch and isn’t properly translated, it probably downloaded an update and undid your English patch. Simply close the game and shut down MY.GAME GameCenter before opening it again. Allow the game to properly patch and once done open your Translation software to re-apply the English patch.
Enjoy Lost Ark!